Rig Clinic
Welcome to the second instalment of the Rig Clinic on Catch-and-release. This months rig of choice is a bottom bait combi-rig made from a coated material with with a semi-stiff coating to allow the rigs mechanics to work at their optimum.
As always there will be a step by step guide to make this rig easy to tie with simple instruction in the how to guide, and what you will need to construct it, I hope you find the guide informative and useful.
Tight Lines
Neil Revell
See you on the bank sometime…
Neil Revell
The Rig
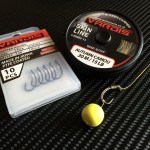
The rig itself is a Combi-rig made using a Sermi-stiff coated material, Curve shank hook pattern and a small piece of shrink tube. This rig does everything you want all from one material as simple as it looks don’t underestimate how efficient and deadly this rig can be, one to defiantly have in your armoury.
This rig has great resetting properties and is a very confident rig to fish, the way in which it’s constructed the weight of the boilie helps the hook turn due to the clever positioning of the hair this again is through careful choice of hook pattern.
Components
To tie this rig you will need the following components:-
1 Coated semi-stiff hooklink of your choice
1 Curve shank hook
1 piece of shrink tube medium size
Tools required to tie the rig.
A pair of scissors
Rig puller
Braid stripper
How to section
Step 1 Firstly take a section of the coated braid approximately 18 inches long or 550 mm.
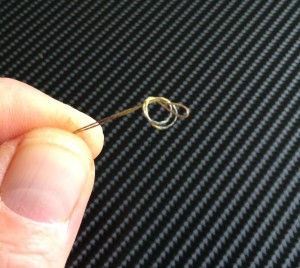
Step 2 Remove a 6 inch 150 mm section of the coating and tie a small loop in the bottom of you uncoated section for your bait and hair stop.
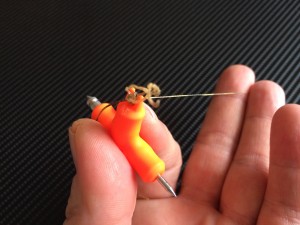
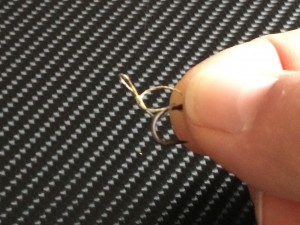
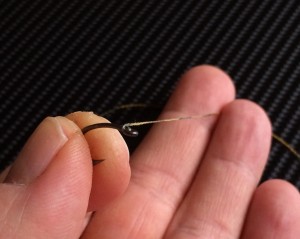
Step 3 To tie the hair in position form a small loop in the uncoated section of your link about 10 mm in diameter leaving a tag with your loop on about 15 mm long facing left as you hold it between your thumb and fore finger place this toward the the bend of the hook but still on the shank, now whip the tag through the loop and around the hooks shank 3 to 4 times. Once you have done this put a rig puller in the hair loop and tighten it down but not fully move the whipping you’ve just done into the centre of the bend and fully tighten at this stage.
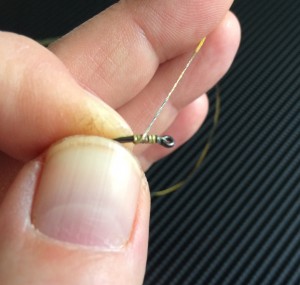
Step 4 Place the coated end of your link through the back of the eye and perform a knotless knot roughly 7 to 10 turns is enough, leaving yourself an uncoated section about an inch long above the hook eye be carefull not to exceed this this length as the rig will be more prone to tangle you only want a small hinge section left once you have applied the shrink tube.
Step 5 Cut a small piece of shrink tubing off about 10mm long and slide down the hook-link placing it over the eye and your knotless knot whippings.
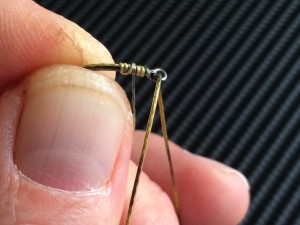
Step 6 Now choose the desired length of your rig and tie a figure of 8 loop to complete you rig take your rig puller and lock everything down nice and firmly, trim off you tag end and steam your rig and shrink tube all in one go, I recommend a 45
degree angle for your shrink tube to aid the hook turning at its maximum efficiency on the take.
Rig application
This rig is a great allrounder for fishing bottom baits in almost any situation the only time I wouldn’t use this rig is were there is lots of debries on the lake bed or in a weedy fishing situation, the rigs semi-stiff properties don’t suit either of these scenario’s.
Recommended lead arrangements.
Leadclip, in-line or semi fixed running rig.
Final checks on the bank
As always I always recommend you test your rigs in the waters edge to see if they sit how you want them to.
One last little tip the use of rig foam with this rig will also aid in your presentation as the semi-stiff coated section will always push the hook bait away.

